
Decadent Triple-Layer Dulce de Leche & Orange Cheesecake Brownies

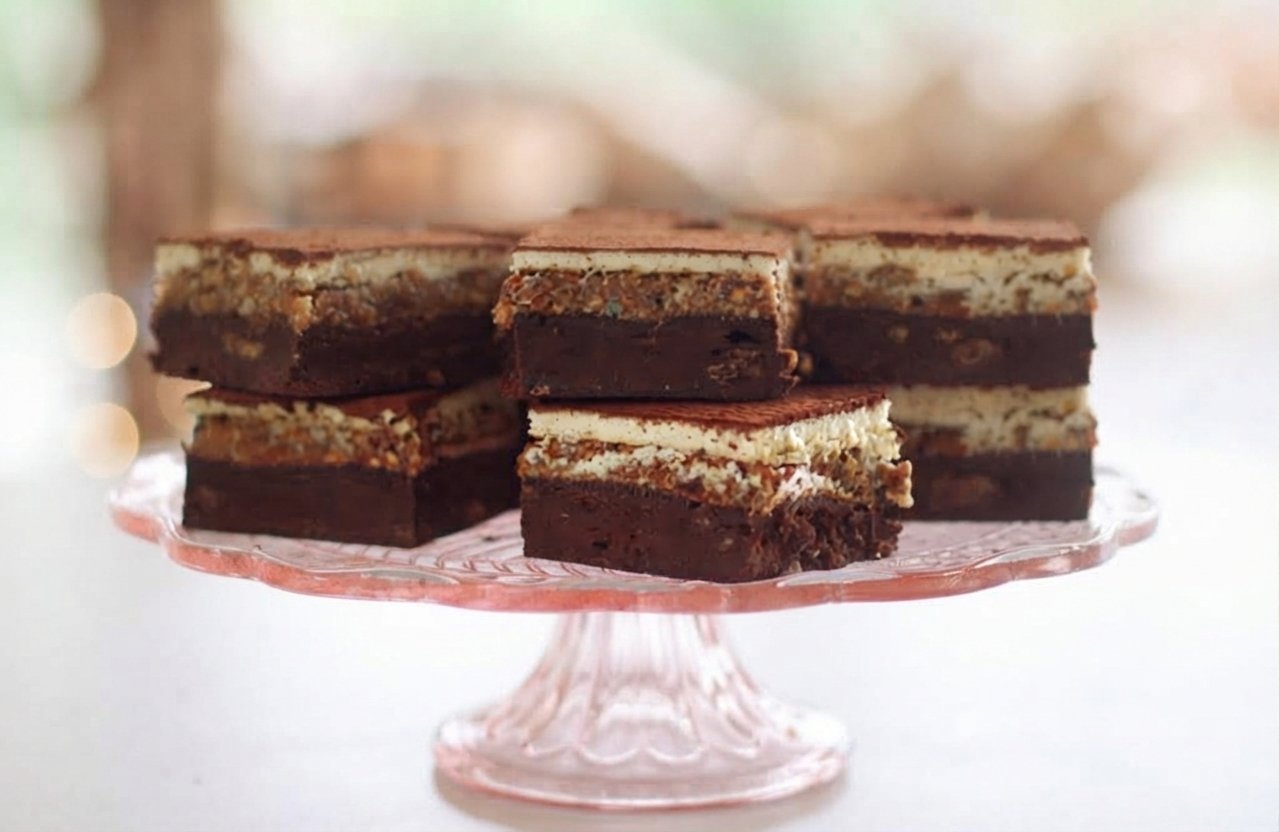
If you are looking for an extraordinary dessert that combines rich indulgence with a bright, citrusy twist, these Decadent Triple-Layer Dulce de Leche & Orange Cheesecake Brownies are the ultimate treat.
Unlike traditional single-batter brownies, this recipe brings together three distinct textures and flavor profiles in every single bite: a dense, fudgy dark chocolate brownie base, a thick blanket of buttery dulce de leche studded with crunchy toasted hazelnuts, and a smooth, silky orange-infused cheesecake top layer. The zesty orange oil in the cheesecake cuts through the heavy sweetness of caramel and rich chocolate, creating a beautifully balanced flavor profile that will impress any crowd.
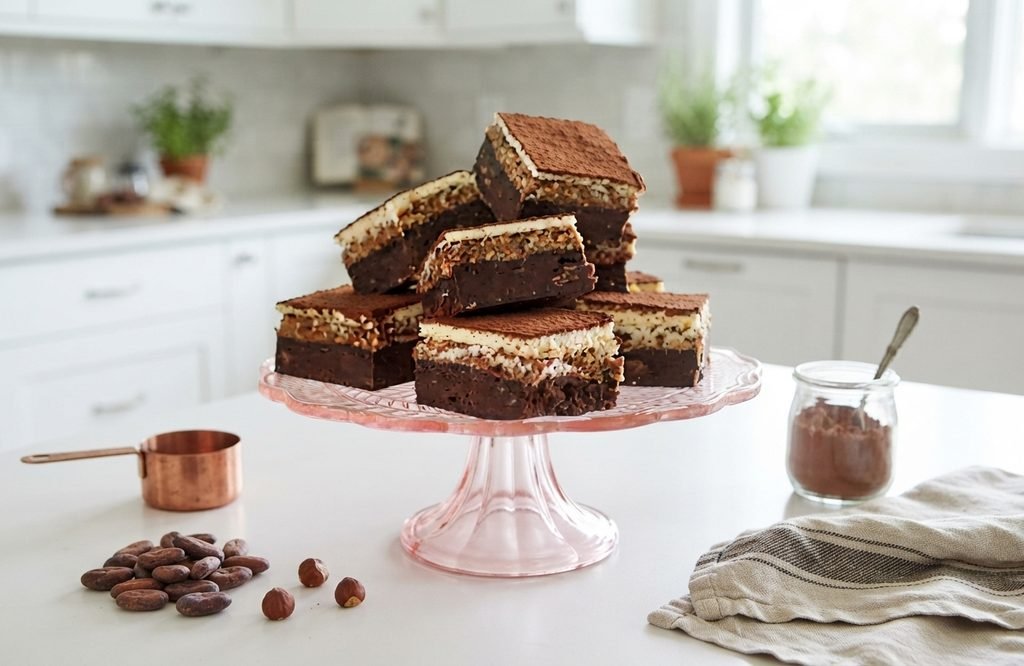
Decadent Triple-Layer Dulce de Leche & Orange Cheesecake Brownies
Ingredients
- Layer 1: Fudgy Dark Chocolate Brownie Base
- 250 g dark chocolate chopped
- 250 g unsalted butter
- 280 g light brown sugar
- 4 large eggs
- 120 g all-purpose flour
- 30 g unsweetened cocoa powder
- 1 tsp instant coffee powder dissolved in 1 tsp hot water
- ½ cup chocolate chips dusted with a pinch of flour
Layer 2: Dulce de Leche & Hazelnut Crunch
- 450 g thick dulce de leche or thick caramel
- 200 g raw hazelnuts toasted and coarsely chopped
Layer 3: Orange Cheesecake Top
- 300 g cream cheese softened at room temperature
- 100 g caster sugar
- 2 large eggs
- 1 tbsp all-purpose flour
- Zest of 1 large orange
- ½ tsp pure orange extract or almond extract
For Serving
- Coco Powder for dusting
Instructions
- Preheat & Prep: Preheat your oven to 180°C (350°F). Line a 9×13-inch baking pan with parchment paper, leaving an overhang on the sides for easy removal.
- Make Brownie Base: Melt the dark chocolate and butter together in a heatproof bowl set over simmering water (or in the microwave in short bursts), stirring until smooth. Remove from heat and whisk in the brown sugar. Add eggs one at a time, beating well after each addition. Stir in the dissolved coffee. Gently fold in the flour and cocoa powder until just combined, then fold in the flour-dusted chocolate chips.
- Bake Brownie Base: Pour the batter into the prepared pan and smooth the top. Bake for 20–25 minutes until just set and a toothpick inserted into the center comes out with a few moist crumbs. Remove from oven and let cool completely.
- Add Caramel & Hazelnuts: Spread the thick dulce de leche evenly over the cooled brownie base. Sprinkle the coarsely chopped toasted hazelnuts evenly over the caramel layer. Place the pan in the freezer for 30 minutes to firm up.
- Prepare Orange Cheesecake Layer: In a mixing bowl, beat the softened cream cheese and caster sugar until smooth and creamy. Beat in the eggs one at a time, then mix in the flour, orange zest, and orange extract.
- Final Bake: Pour the orange cheesecake batter over the chilled dulce de leche layer and smooth the top. Return to the oven and bake at 180°C (350°F) for 25–30 minutes until the cheesecake layer is set and slightly golden around the edges.
- Chill & Serve: Allow the brownies to cool completely at room temperature, then place them in the refrigerator for at least 4 hours (overnight is best) before slicing with a warm knife into 16 squares.
Pro Tips
Toss Chocolate Chips in Flour: Tossing your chocolate chips in a teaspoon of flour before folding them into the batter prevents them from sinking to the bottom of the tin during baking, ensuring an even distribution throughout every bite.
Don’t Skip the Freeze Step: Freezing the dulce de leche and hazelnut layer for 30 minutes before pouring over the cheesecake batter is essential. It firms up the caramel so the cheesecake layer stays distinctly on top instead of bleeding into the middle.
Master the Overnight Chill: Resist the temptation to slice these warm! Letting the assembled brownie chill in the fridge overnight sets the cheesecake layer and locks in the fudgy texture, making it infinitely easier to slice into clean, sharp squares.
Gluten-Free Swap: You can easily make this recipe gluten-free by replacing the plain flour in all three layers with a 1:1 gluten-free baking flour blend (such as Bob’s Red Mill or King Arthur).
Warm Knife Slicing Trick: For picture-perfect layers, wipe a sharp chef’s knife with a warm, damp cloth between every single cut. This prevents the dulce de leche from smearing across the bright orange cheesecake layer.
Frequently Asked Questions (FAQ)
Q: Can I use store-bought dulce de leche?
A: Absolutely! High-quality store-bought dulce de leche or canned thick caramel (like Nestlé La Lechera) works perfectly. Just make sure it is thick and spreadable rather than a thin ice-cream topping syrup.
Q: Why do I need to freeze the brownie layer before adding the cheesecake layer?
A: Freezing the baked brownie and dulce de leche layer for 30 minutes firms up the caramel. This prevents the wet orange cheesecake batter from sinking into or blending with the dulce de leche, preserving those clean, distinct visual layers.
Q: How long do these brownies stay fresh, and how should I store them?
A: Because of the fresh cream cheese layer, store these brownies in an airtight container in the refrigerator for up to 5 days. You can serve them straight from the fridge for a fudgy texture or let them rest at room temperature for 15 minutes before serving for a softer bite.